|
<< Click to Display Table of Contents >> Mobile Layout |
  
|
|
<< Click to Display Table of Contents >> Mobile Layout |
|
![]() The buttons are "Undo" and "Redo."
The buttons are "Undo" and "Redo."
When the mouse is over the undo icon, the prompt is revoked. When the mouse is over the redo icon, it prompts redoing.
Undo: After clicking on Undo, you can return to the state before the operation. Shortcut key: Ctrl+z.
Redo: Click Redo after revocation to return to the state before revocation. Shortcut key: Ctrl+y.
![]() The buttons are the Move Up and Move Down buttons.
The buttons are the Move Up and Move Down buttons.
When you move the mouse over the icon, you are prompted to move it up. When you move the mouse over the icon, you are prompted to move down.
Move Up: Move the selected component position up one unit
Move down: Move the selected component position down one unit
[Dividing line]:
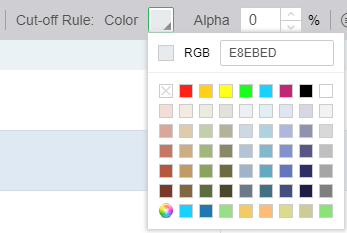
Color: Select to change the color of the dividing line.
Transparency: You can enter a numeric value and set the transparency percentage of the division line. You can also click on the fine tune icon.
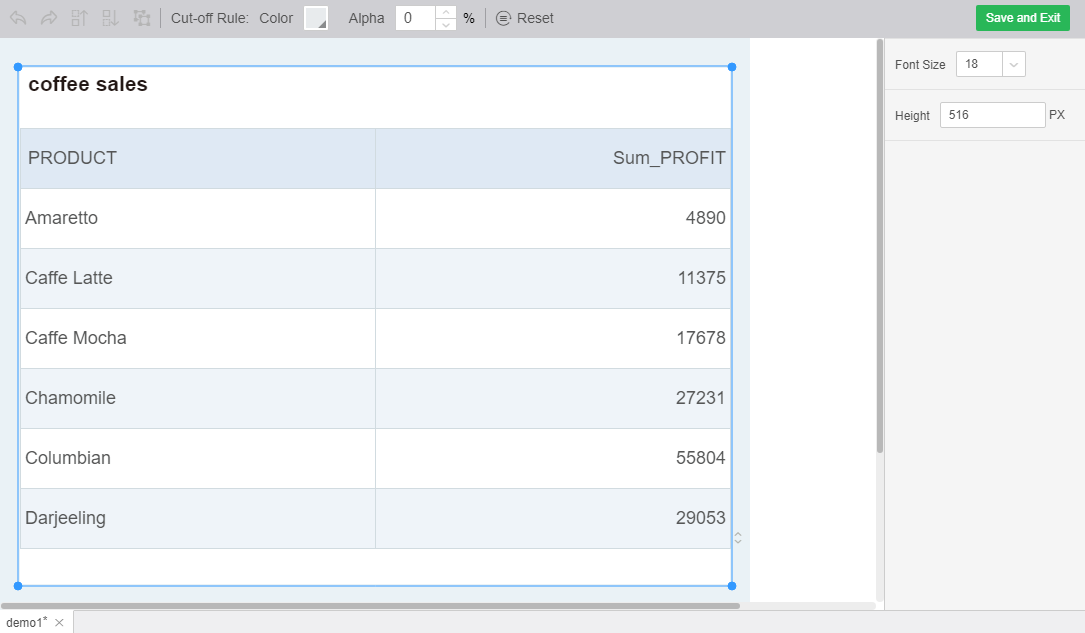
[Reset]: Press Reset to make all current changes back to the initial state.
[Save and Exit]: Press the button to make the current changes take effect and save, and exit the phone layout.
[size]: For the place where the text is in the component, you can set the font size by clicking on the corresponding position of the component and clicking the drop-down box on the right.
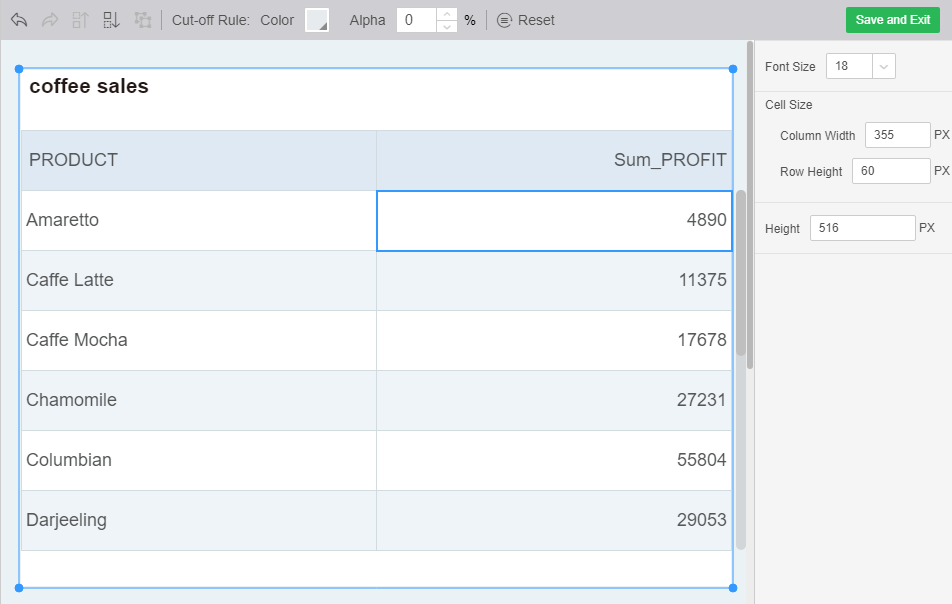
[Cell Size]: For table class components, the column width and row height can be set by the right cell size.
[Component Height]: Input component height can adjust the display height of the component.
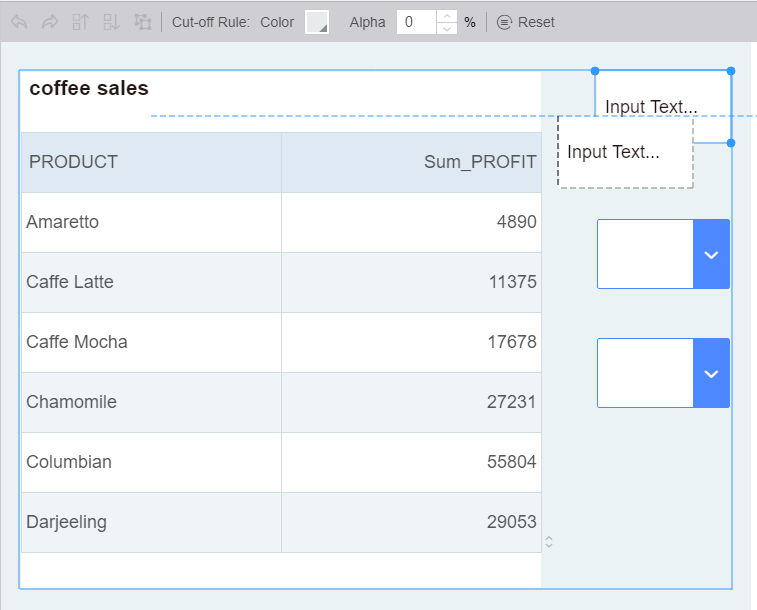
[Integrated Component Internal Adjustment]:
When there is a combined component, the entire combination occupies one display unit.
The internal position of the combination can be adjusted by dragging and moving the keyboard, as shown in the figure: