|
<< Click to Display Table of Contents >> How to Create Data Range |
  
|
|
<< Click to Display Table of Contents >> How to Create Data Range |
|
The data range is to create a ranged dimension field for a numeric type field. Therefore, this field is automatically included under the node of the dimension.
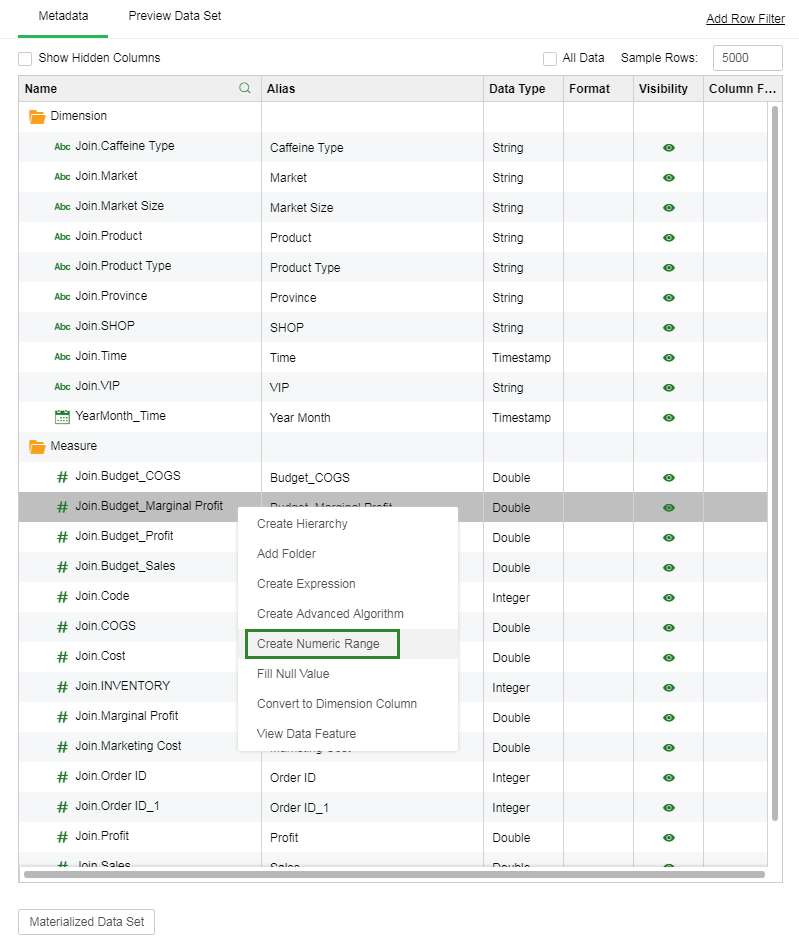
1.After the data source is set up, click [Refresh Metadata] and all data fields will be displayed in the metadata area.
2.In the metadata area, select the field of the numberic type. In the corresponding "More" menu, select [Create Numberic Range].
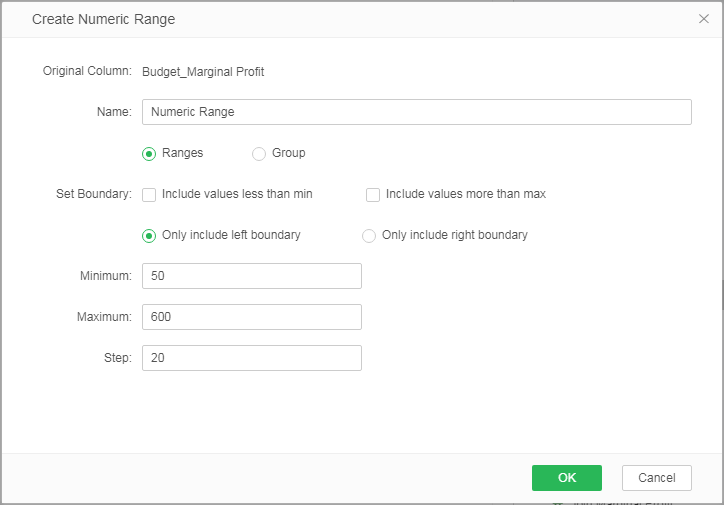
3.In the Create Numberic Range window, enter the data range name, set the boundary, enter the minimum, maximum, and step information, and then click [OK].
➢Note:
Minimum: Set the minimum value of the data range.
Maximum: Set the maximum value of the data range.
Step: Set the step size of the data range.
Include values less than min: When the user does not check, the value less than the minimum value will be mapped to null. When checked, values less than the minimum value will be mapped to the minimum minus the step value.
Include values more than max: When the user does not check, the value greater than the maximum value will be mapped to null. When checked, values greater than the maximum value will be mapped to the maximum plus the step value.
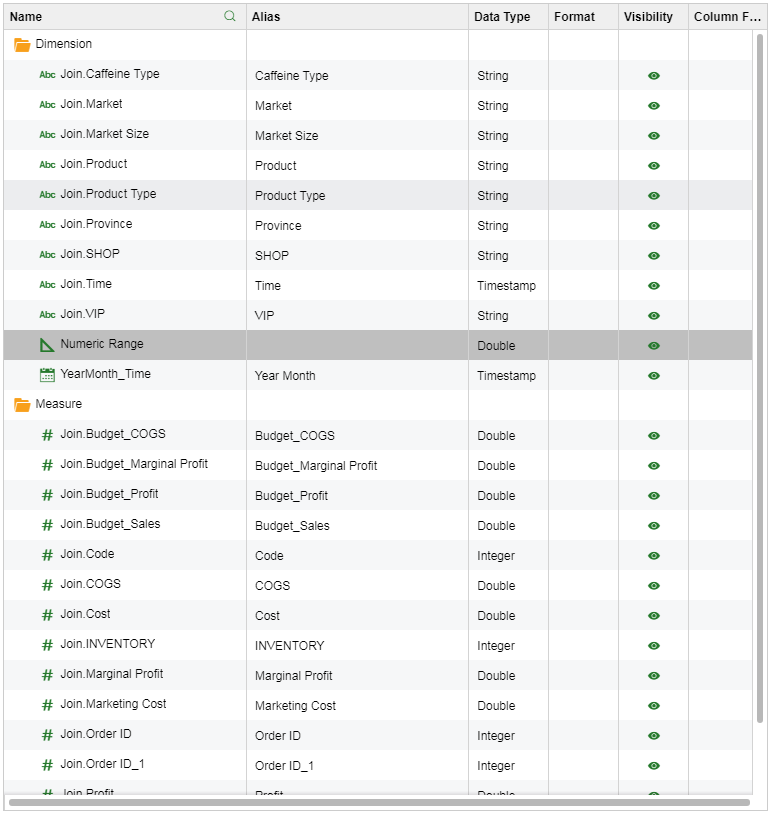
4.The new data range appears in the dimension area.