|
<< Click to Display Table of Contents >> Installation Steps |
  
|
|
<< Click to Display Table of Contents >> Installation Steps |
|
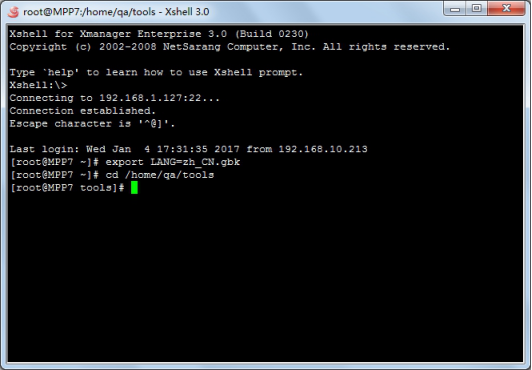
1.Enter the directory stored in YonghongBI.sh, assuming that YonghongBI.sh is stored in the /home/qa/tools directory.
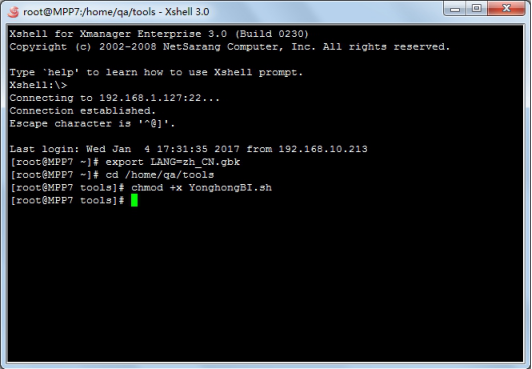
2.Execute the Chmod +x YonghongBI.sh statement to add execution permissions for this product.
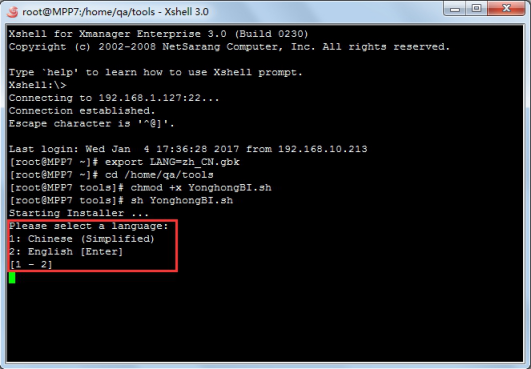
3.Execute the SH YonghongBI.sh statement and start installing the product.

3.1 First, users need to select the language used by the product, and default to English.
3.2 After selecting the language, users need to decide whether to install YonghongBI to the machine.
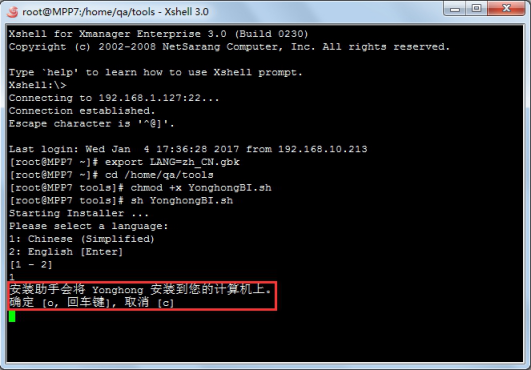
3.3 Enter o to confirm installation and proceed to the installation wizard again.
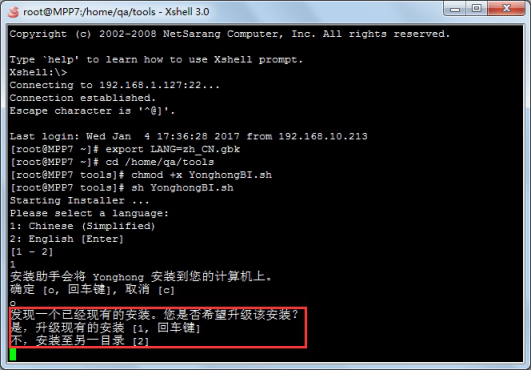
3.4 After upgrading the existing installation or installing it to another directory, go to the next step to see the product license agreement.
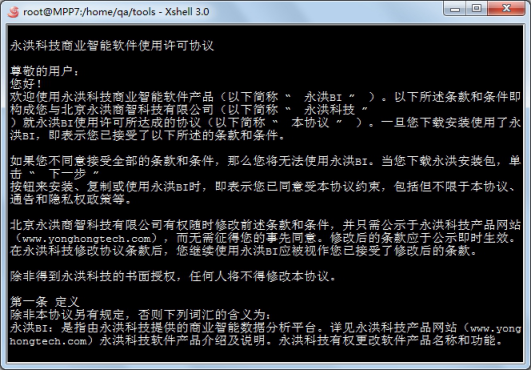
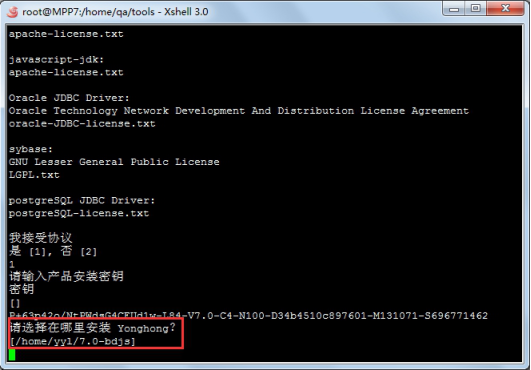
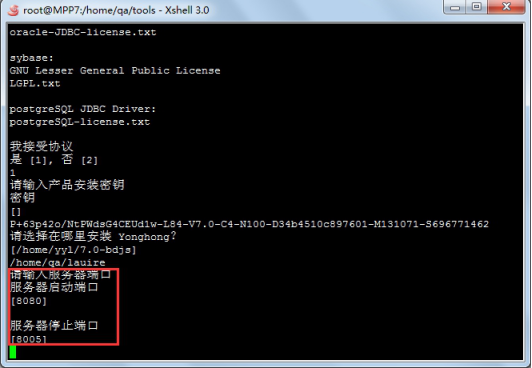
3.5 After receiving the content of the agreement, users need to enter the product installation key to enter the next installation process.

3.6 After entering the legal installation key, enter the next step to set up the product installation path.
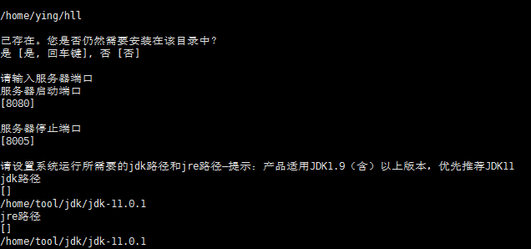
3.7 The user can reset the port number initiated by the server, with a default value of 8080. At the same time, users can reset the stop port number of the server, with a default value of 8005.
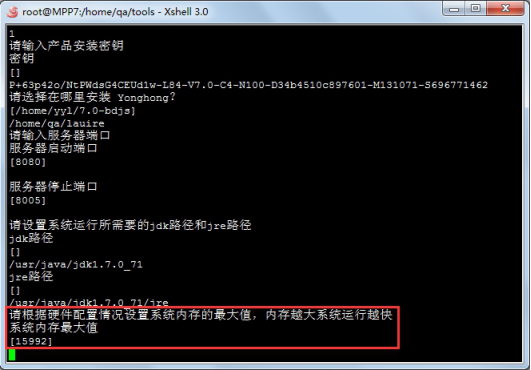
3.8 Sets the jdk path and the jre path required by the system. Tip: The product supports JDK1.9 (inclusive) and it is recommended to use JDK11
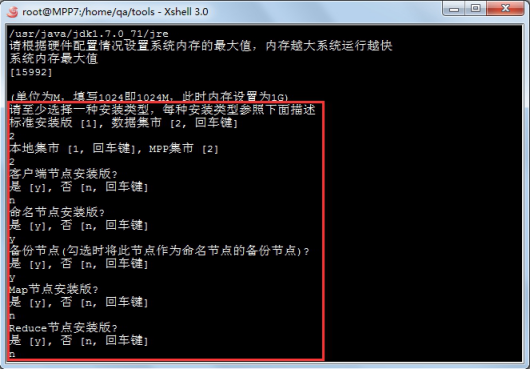
3.9Configuring the memory required for the system to run, the size of the default is related to the installation environment.
3.10 Select the installation type. Refer to the client node, naming node, Map node and Reduce node installation in the Windows system. All nodes need to configure common property files, named nodes also need to configure the Naming Node index file path, Map nodes also need to configure the sub node to store metadata files and child node physical data folders.
Note: Yonghong X-Suite, Y-Reporting, and Y-Vivid show do not support backup node for Naming nodes.
3.11 Users can choose whether to set Naming node double live. If set, when Naming Node goes down, the ZooKeeper cluster First Backup Node is elected as a new Naming Node, effectively avoiding the problem of data loss caused by a single point of failure.
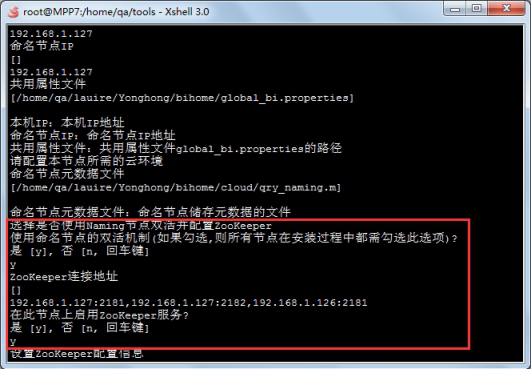
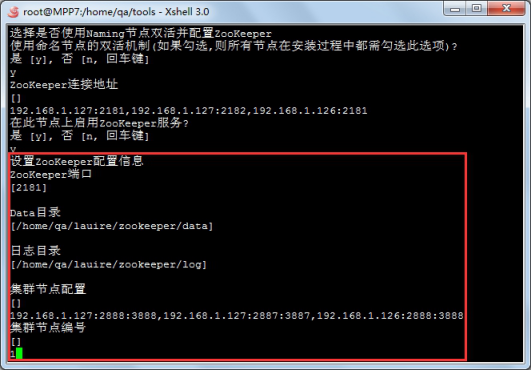
3.12 If ZooKeeper services are enabled on this node, users need to configure ZooKeeper cluster information. See the corresponding information description in the Windows installation package.
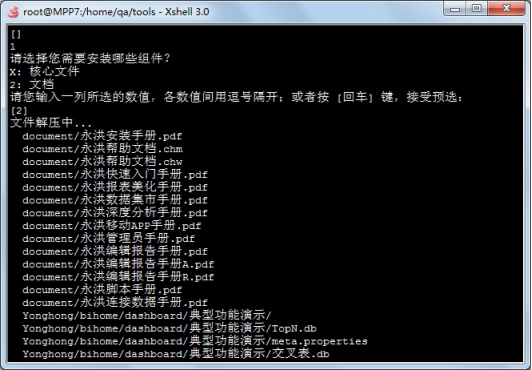
3.13 After configuring all of the above information, the user can choose the components to install. * is the necessary option, and 2 is optional.
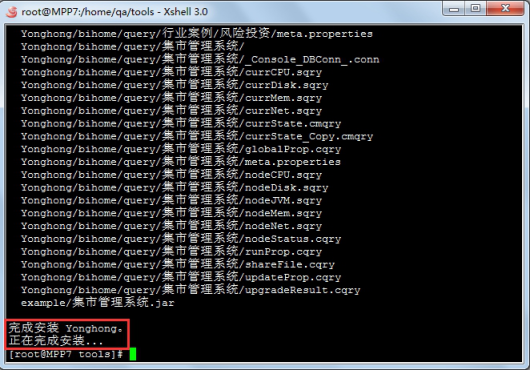
3.14The installation is completed.