|
<< Click to Display Table of Contents >> ADS Database |
  
|
|
<< Click to Display Table of Contents >> ADS Database |
|
1. On the "Create Connection" homepage, click "ADS" to open the creation dialog.
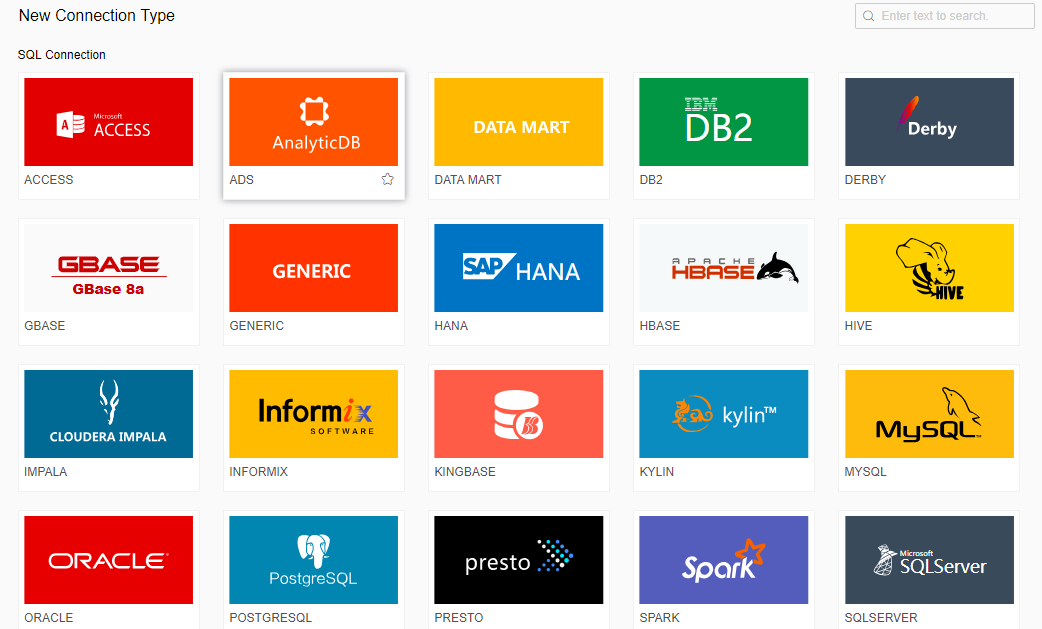
The creation dialog is as follows:
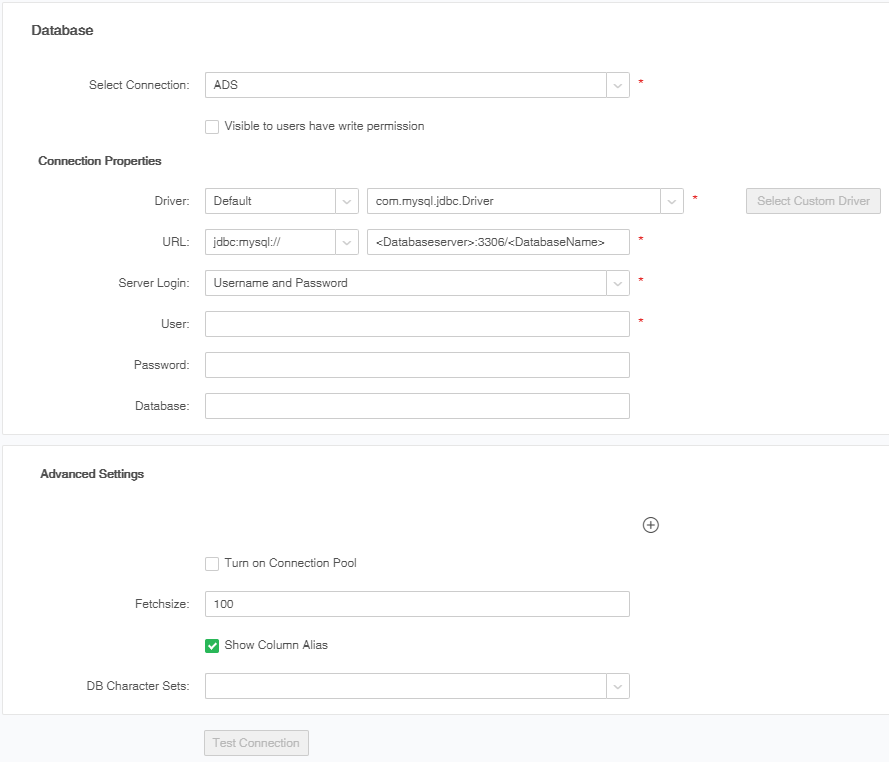
[Select Connection] The database type selected in the homepage is displayed by default. You can also select another database type, here "ADS" selected.
[Visible to users have write permission] Assume that user1 has only read permission to the data source and has read or read/write permission to the data sets relying on the data source. If you select the option, login as user1, and access the page for data set creation, "Visible to users have write permission" is displayed when you open the data source. If you open a data set that relies on the data source, the data source information is collapsed and cannot be expanded.
[Driver] You can manually write down or select the required driver type.
[URL] URL of the data source. In the URL fill box, the items are displayed directly to the user. Users can use the data source directly only by modifying the correct server address.
[Server Login] There are two ways: Username and Password, No Authentication. When the database sets access permissions, the user needs to access the current database using the user name and password.
[User] The username required for connecting the database.
[Password] The password required for connecting the database.
[Database]Control the catalog shown under the data source. When you input a catalog, the data source displays only the specified one, and if not specified here, all catalog will be displayed.
[Advanced Settings] put some of the non - mandatory items of the data source into the advanced Settings, and the mouse can trigger the expansion and recovery when the mouse clicks, and the new and saved reopens, all of which are retracted.
[Add Attribute] The data source is open to provide the interface for configuring the database configuration properties. Clicking the Add Attributes icon will add a line "Name" and "Value" to the advanced attributes for the user to customize. You can manually add multiple database attribute.
[Name] Attribute name of the database to be configured.
[Value] The value of the database property to be set.
[Turn on Connection Pool]Configure the Turn on Connection Pool. Click the check box to enable the connection pool configuration.
[Effective Connection Time]The effective connection time of the data source. The default is 2 hours. After the configuration is 2 hours, the connection usage of more than 2 hours will not be placed in the connection pool.
[Max Connection]The maximum number of connections for this data source. The default is 30.
[Fetchsize] controls the number of lines of data that JDBC reads each time. The default is 100. Every time JDBC reads data, it will be cached in memory. It is recommended to configure it properly to ensure sufficient memory.
[Show Column Alias]After checking,the comment of the column in the database will be obtained as an alias on the dataset side. By default, it is checked when it is newly created.
[Charset Conversion]Database Charset is the original database charset.Convert Charset is converted to charset. These two items can be set to transform the charset when the charset is inconsistent.
2.Fill in the corresponding ADS database connection information, at least fill in the required fields.
3.Click "Test Connection" button. A message is displayed, indicating that the test succeeds, which means that the data source has successfully connected to the appropriate database.
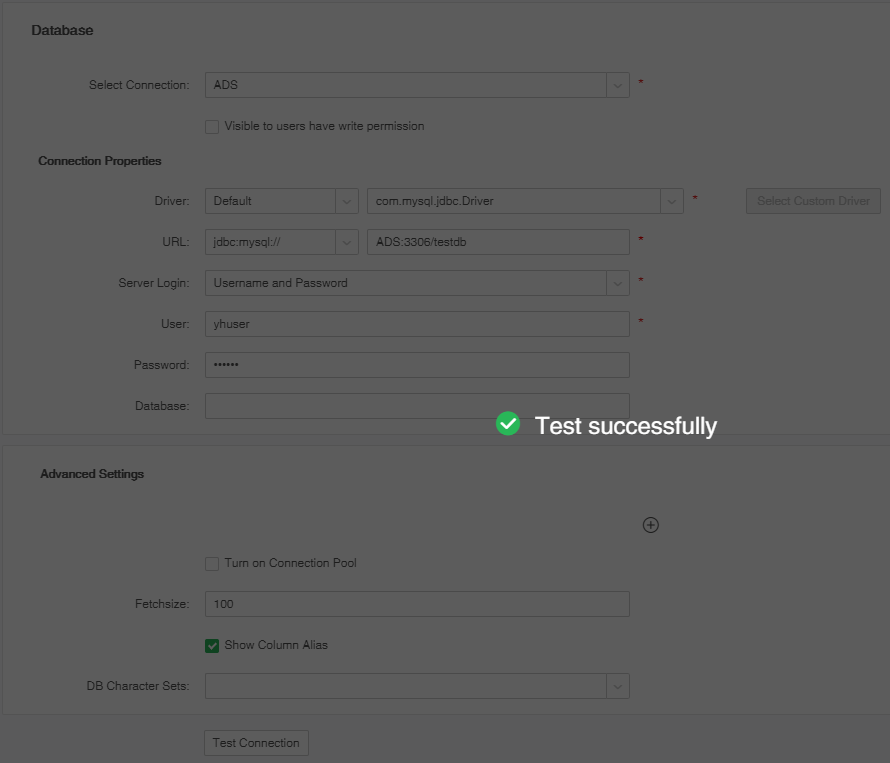
4. Click "Save" on the menu bar to save the data source. Both "Create Data Set" and "Create Dashboard" modules can use saved data source.